v=spf1 include:spf.protection.outlook.com -all), enable DKIM in Microsoft Defender for both your onmicrosoft.com domain and every custom domain, then publish a starter DMARC TXT record at _dmarc.yourdomain.co.uk with p=none and a reporting address. Tighten DMARC to p=reject over the next 30–90 days as reports come in clean. Verify with our free email security checker. 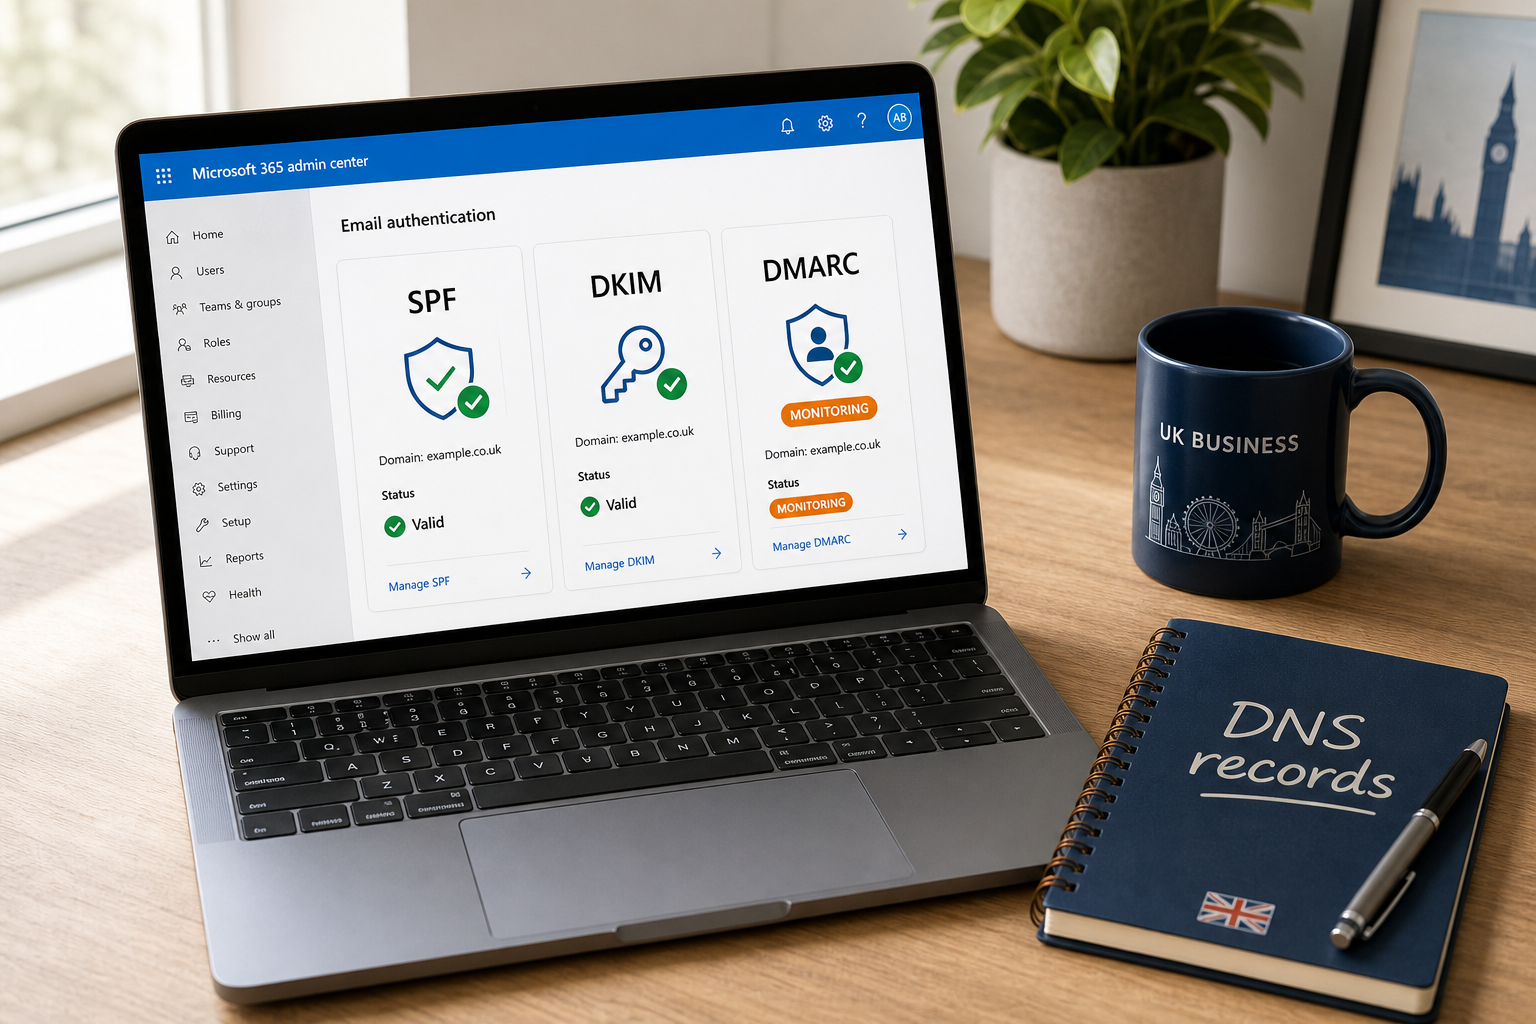
Microsoft 365 is the email provider behind a huge slice of UK SMEs, and it has stronger email-authentication tooling than most admins realise — but you have to turn it on. Out of the box, M365 partially configures SPF for the onmicrosoft.com tenant only, leaves DKIM disabled even on signed-up custom domains, and never publishes a DMARC record on your behalf. The result: a domain that’s technically deliverable but trivially spoofable.
This guide walks through every record you need to add and every Microsoft Defender setting you need to flip, in the order an experienced UK MSP would deploy them. Total time on a clean tenant: about 45 minutes. If you’d rather we run the whole deployment as part of managed Cyber Essentials certification, we do this on every customer onboarding from £103/month.
Pre-flight checks — do this before changing DNS
Want to verify your DNS changes worked?
Test your own domain in 60 seconds with our Run our free Domain Checker — runs SPF, DKIM, DMARC, MTA-STS, TLS-RPT, BIMI, DNSSEC and MX checks, returns a 0–100 score and copy-paste DNS fixes. Free, no signup, Cyber Essentials aligned.
Before you publish any DNS records, take five minutes to map out every system that sends email on your domain’s behalf. SPF only authorises the senders you list, so if you forget to include one, that system’s email starts going to spam — or worse, gets rejected outright once you tighten DMARC.
- Microsoft 365 — the obvious one.
- Marketing platforms — Mailchimp, HubSpot, Marketo, ActiveCampaign, Brevo (formerly Sendinblue), Klaviyo.
- Transactional senders — SendGrid, Mandrill, Mailgun, Postmark, Amazon SES, Resend.
- SaaS apps that send notifications “as you” — Zendesk, Freshdesk, ServiceNow, Salesforce, HubSpot Sales, Intercom, Stripe receipts, accounting tools.
- Server-side mail — web-form notifications, custom CRM, monitoring alerts from Datadog or PagerDuty.
For each one, find the SPF include directive in their documentation. Most look like include:spf.example.com or include:_spf.example.com. Keep the list to one side — you’ll need every entry in step one.
Also note: SPF has a hard cap of 10 DNS lookups per RFC 7208, and most include: directives count as one lookup each. If your list is over 8 includes you’re already in trouble — we cover the fix in the common mistakes section.
Step 1 — Add SPF for Microsoft 365
SPF tells receiving mail servers exactly which IP addresses are allowed to send email as your domain. For a vanilla M365 tenant with no third-party senders, the record is a single line.
1.1 The base SPF record
In your DNS provider (Cloudflare, GoDaddy, 123-reg, AWS Route 53, etc.), add a TXT record at the apex of your domain:
Host:    @     (or yourdomain.co.uk — depends on your provider)
Type:    TXT
Value:   v=spf1 include:spf.protection.outlook.com -all
TTL:     3600  (1 hour, default is fine)
The -all at the end is a hard-fail: any sender not on the include list gets rejected. If you’re nervous about deliverability on day one, start with ~all (soft-fail) and tighten to -all after seven days of clean DMARC reports.
1.2 Adding third-party senders
For every legitimate sender you mapped in pre-flight, add their include: directive. The order doesn’t matter, but the record must be a single line (newlines break SPF parsing on some DNS providers).
v=spf1 include:spf.protection.outlook.com include:servers.mcsv.net include:_spf.salesforce.com include:sendgrid.net -allThat example covers Microsoft 365, Mailchimp, Salesforce and SendGrid — four lookups out of your ten-lookup budget.
1.3 Verify SPF is live
SPF takes between 15 minutes and 24 hours to propagate, but most modern DNS providers show updates within 5 minutes. Check it’s live with our free email security checker — you’ll see “SPF set with -all (hard-fail)” if everything is correct.
Step 2 — Enable DKIM in Microsoft 365
DKIM cryptographically signs every email leaving your tenant so receiving servers can verify the message hasn’t been tampered with. Microsoft 365 makes this easier than most providers because the signing keys are managed for you — you just publish the public-key CNAMEs and flip the toggle.
2.1 Add the two DKIM CNAME records
In your DNS provider, add two CNAME records for each custom domain. Microsoft uses two selectors so it can rotate keys without breaking signing.
Host:   selector1._domainkey
Type:   CNAME
Value:  selector1-yourdomain-co-uk._domainkey.<tenant>.onmicrosoft.com

Host:   selector2._domainkey
Type:   CNAME
Value:  selector2-yourdomain-co-uk._domainkey.<tenant>.onmicrosoft.com
Replace yourdomain-co-uk with your actual domain (Microsoft replaces the dots with hyphens in the selector hostname) and <tenant> with your onmicrosoft.com tenant name. You can find both in the Microsoft 365 admin centre at Settings → Domains → your-domain.co.uk → DNS records.
2.2 Turn DKIM on in Microsoft Defender
Once the CNAMEs are published (allow 5–15 minutes), enable DKIM signing in Defender:
- Sign in to security.microsoft.com.
- Open Email & collaboration → Policies & rules → Threat policies.
- Under Rules, click Email authentication settings → DKIM.
- Select your custom domain.
- Toggle Sign messages for this domain with DKIM signatures to Enabled.
If the toggle won’t enable, the most common cause is the CNAME records haven’t propagated yet — wait 30 minutes and retry. The second most common cause is using the wrong tenant name in the CNAME — double-check it matches the value Microsoft shows in Domains → DNS records.
2.3 Verify DKIM signing
The fastest way to confirm DKIM is signing real mail: send a test email to your personal Gmail address, open the message, click the three-dot menu and choose Show original. You should see DKIM: 'PASS' with domain yourdomain.co.uk in the header. Our email security checker will also flag DKIM as detected on the selector1 and selector2 selectors once both are live.
Step 3 — Publish DMARC starting at p=none
DMARC ties SPF and DKIM together with a policy: it tells receiving servers what to do when a message fails SPF or DKIM checks, and where to send the daily reports. Always start at p=none (monitoring mode) so legitimate senders aren’t blocked by surprise.
3.1 The starter DMARC record
Add a TXT record at the _dmarc subdomain:
Host:   _dmarc
Type:   TXT
Value:  v=DMARC1; p=none; rua=mailto:dmarc-reports@yourdomain.co.uk; ruf=mailto:dmarc-forensics@yourdomain.co.uk; pct=100; adkim=r; aspf=r
TTL:    3600
Each tag matters:
v=DMARC1— mandatory version tag.p=none— the policy. Start in monitoring mode.rua— aggregate reports (daily XML summaries from receiving servers).ruf— forensic reports (per-message failure samples; not all receivers send these).pct=100— apply the policy to 100% of mail. Anything less is only worth using briefly during the move fromquarantinetoreject.adkim=r,aspf=r— relaxed alignment. Allow subdomains to align with the parent. Strict (s) is rarely worth the deliverability headache for SMEs.
3.2 Use a DMARC report parser
Aggregate reports are XML attachments to emails, sent daily by Google, Microsoft, Yahoo and the rest. They’re unreadable by humans — you need a parser. Free options for UK SMEs:
- dmarcian — free tier covers a single domain with up to 25,000 messages/month.
- EasyDMARC — free tier covers up to 5,000 messages/month.
- Postmark DMARC Digests — weekly summary email, completely free.
Pick one before you publish the DMARC record — the rua= address should point at the parser, not your generic mailbox. Otherwise you’ll have hundreds of XML attachments piling up and no way to read them.
Step 4 — Tighten DMARC over time
The full rollout from p=none to p=reject typically takes 30–90 days, but the steps are mechanical. Our DMARC 30-day rollout plan covers each week in detail. The headline schedule:
- Week 1–2 —
p=nonewith reporting. Watch for failing senders. - Week 3–4 — fix every failing legitimate sender (usually missing SPF includes or DKIM signing on third-party platforms).
- Week 5–6 — switch to
p=quarantine; pct=10, then 50, then 100. - Week 7+ — switch to
p=reject; pct=100. You’re now fully enforcing.
If you have a marketing team that runs unannounced bulk campaigns through new senders, watch the reports for an extra week before tightening — the most common cause of deliverability incidents is “marketing added a new ESP without telling IT”.
Step 5 — Optional but recommended: MTA-STS, TLS-RPT and DNSSEC
Once SPF, DKIM and DMARC are deployed and reporting clean, you can layer in three more controls for defence in depth. None of these are mandatory for Cyber Essentials but all of them appear in the more rigorous IASME Cyber Assurance and ISO 27001 control sets.
5.1 MTA-STS (force TLS on inbound mail)
MTA-STS forces sending servers to use TLS encryption when delivering to your domain. You publish two records: a TXT record telling the world MTA-STS is active, and a policy file at a well-known URL on a subdomain.
Host:   _mta-sts
Type:   TXT
Value:  v=STSv1; id=20260505000000

Host:   mta-sts
Type:   CNAME (or A record)
Value:  <your web host or an MTA-STS-as-a-service URL>
The policy file at https://mta-sts.yourdomain.co.uk/.well-known/mta-sts.txt contains the rules:
version: STSv1
mode: enforce
mx: *.mail.protection.outlook.com
max_age: 604800
Hosting the policy file is the trickiest part on M365 because Microsoft doesn’t serve well-known URLs from your tenant. Most SMEs either use a small static site (Cloudflare Pages, GitHub Pages) or a managed service like Hardenize or EasyDMARC’s MTA-STS hosting.
5.2 TLS-RPT
TLS-RPT tells you when mail to your domain fails TLS — useful for spotting downgrade attempts in progress. A single TXT record:
Host:   _smtp._tls
Type:   TXT
Value:  v=TLSRPTv1; rua=mailto:tls-reports@yourdomain.co.uk
5.3 DNSSEC
DNSSEC cryptographically signs all your DNS responses, preventing attackers from poisoning DNS for your domain. It’s enabled at the registrar, not your DNS provider directly. .uk domains via Nominet support DNSSEC, as do most major registrars (Cloudflare, AWS Route 53, Gandi, GoDaddy).
Common Microsoft 365 SPF/DKIM/DMARC mistakes
The same handful of issues account for most failed M365 deployments we see during Cyber Essentials onboardings:
- Multiple SPF records on the same domain. RFC 7208 only allows one. The most common cause: someone adds a “Microsoft 365” SPF without removing the legacy “GoDaddy” or “123-reg” SPF that came with the domain. Fix: merge into a single record, then delete the duplicates.
- SPF lookup count over 10. Combine M365 + Mailchimp + HubSpot + Salesforce + a help-desk tool and you’re already at 10 lookups. Fix: SPF flattening (a SaaS like EasyDMARC or dmarcian dynamically rewrites your SPF to stay under the limit).
- DKIM enabled but no CNAME records published. The toggle in Defender will fail with an obscure error. Always publish the CNAMEs first, wait 15 minutes, then enable DKIM.
- DMARC
rua=pointing at a real mailbox. Aggregate reports are XML attachments — useless without a parser. Always sendrua=to a parser-managed address. - Forgetting the
onmicrosoft.comdomain. Microsoft signs internal mail using your tenant’sonmicrosoft.comdomain. Enable DKIM on it too, otherwise Defender flags some internal mail as DKIM-failing in your own reports. - Hard-failing SPF before DMARC is set. If you publish
-allwith SPF before you have DMARC atp=nonewatching, you have no visibility when a legitimate sender breaks. Keep SPF at~allfor the first week.
How to verify the whole stack
The fastest sanity check after each step is our free email security checker — enter any email on the domain you’re configuring and you’ll get a 0–100 score with per-check pass/warn/fail. Run it after each DNS change to confirm the change took effect before moving to the next step.
For a full forensic check, send yourself a test email to a Gmail address, open the message, click Show original, and confirm:
- SPF: PASS with
spf=pass (google.com: domain of you@yourdomain.co.uk designates …) - DKIM: PASS with domain
yourdomain.co.uk - DMARC: PASS
If any of those say FAIL or NEUTRAL, the corresponding step is misconfigured.
How Connection Technologies handles this for managed customers
Email-authentication deployment is part of every Cyber Essentials certification we run, included in the monthly subscription from £103/month per organisation. We deploy SPF/DKIM/DMARC, MTA-STS, TLS-RPT and (where supported) DNSSEC against your domain, then ingest your DMARC reports into our Managed Detection & Response platform so legitimate-sender failures are caught the day they happen rather than the next time someone notices Mailchimp emails are going to spam.
If you’d rather just verify your existing setup before booking a quote, run the email security checker and email yourself the report. We’ll follow up within one working day with a free Cyber Essentials gap analysis based on your score.
Related reading
If you came here because email is failing security audits, the next steps depend on what triggered the audit:
- If your firm is a target for impersonation (CEO fraud, conveyancing fraud, supplier impersonation), the most-attacked email pattern in the UK in 2025/26 is documented in our Business Email Compromise UK guide. SPF/DKIM/DMARC at
p=rejectis the foundational control, but it’s not the only one. - If you’re worried specifically about AI-generated phishing and deepfake voice fraud, our UK deepfake phishing guide covers the layered defences beyond email authentication.
- If you’re benchmarking total cyber spend before deciding what to outsource, our UK cyber security cost breakdown for 2026 shows what each layer (EDR, MDR, CE, pen testing, insurance) actually costs by company size.
- If you want the bigger-picture comparison of UK providers handling email security as part of a managed offering, see our best UK cyber security companies 2026 review.
- For the full Cyber Essentials baseline that wraps email authentication into a certification process, see our Cyber Essentials checklist.
Frequently asked questions
Does Microsoft 365 enable SPF, DKIM and DMARC by default?
No. M365 partially configures SPF for the onmicrosoft.com tenant only, leaves DKIM disabled even on signed-up custom domains, and never publishes DMARC. You have to do all three deliberately for them to actually protect your custom domain.
How long does the full setup take on a clean tenant?
About 45 minutes of admin time on a vanilla tenant with no third-party senders. Add 15–30 minutes per third-party platform you have to map (find SPF include, configure DKIM signing in their portal). DNS propagation usually runs in parallel and is invisible to the admin.
Will tightening DMARC to p=reject break my email?
It can, if you tighten before you’ve fixed every legitimate sender. That’s why every sensible rollout starts at p=none for at least 14 days, watching the daily reports for failing legitimate senders. Once those are clean, the move through quarantine to reject is mechanical. Our 30-day rollout plan covers the full sequence.
Do I need a paid DMARC platform like dmarcian or EasyDMARC?
Not initially — both have free tiers that cover most UK SME volumes. You only need a paid plan once you have multiple domains, more than ~25,000 outbound messages a month, or you want forensic-level alerting and Microsoft 365 / Salesforce integration.
Can I use a single DMARC record for multiple subdomains?
Yes — the DMARC record at the apex (_dmarc.yourdomain.co.uk) covers every subdomain that doesn’t have its own DMARC record. If you want different policy for a subdomain — for example, a stricter p=reject on a marketing subdomain that you’re confident in — publish a separate _dmarc.subdomain.yourdomain.co.uk record.
What about Google Workspace — is the process different?
The principles are identical but the screens and exact records differ. SPF on Google Workspace is include:_spf.google.com. DKIM uses a single google._domainkey selector configured in Apps → Google Workspace → Gmail → Authenticate email. DMARC is identical to M365 because it’s a DNS-only standard. We’ll publish a Google Workspace version of this guide if you tell us you’d find it useful.
Get a quote: Cyber Essentials & CE+ · Managed Detection & Response · Managed IT Support
Want SPF, DKIM and DMARC Configured Properly?
Our IT team audits and fixes your email authentication as part of managed IT support — no more spoofed invoices or bounced campaigns.
